

 Teams
Teams SharePoint
 Slack
Slack QR Codes
 PDF
PDF Active Directory
 Workday
 ADP
ADP Canva
CanvaCompany Newsletter | Email | Employee Newsletter | Internal Communication
Your guide to sending your first email in Workshop


Welcome to Workshop! 👋 If you’re new here, you’re in exactly the right place.
Workshop is built to make internal communication easier, faster, and honestly… a lot more enjoyable. Whether you’re sharing a company announcement, sending your weekly newsletter, or posting a quick update, you can create and send a polished internal email in just a few minutes.
Let’s walk through it together.
First things first: A quick tour
When you log in to Workshop, you’ll land on the Dashboard. Think of it as your communications command center — a quick snapshot of what’s happening across your team’s messaging. Across the top, you’ll see a few key areas:

Dashboard
Your at-a-glance view of recent emails, engagement trends, and what communications are scheduled this week.
Calendar
Your team’s communication timeline. See past sends, plan upcoming messages, and keep everyone aligned.
Campaigns
Perfect for recurring communications like newsletters, updates, or company initiatives. Track performance across multiple emails and watch engagement trends over time.
Email
This is where the magic happens! ✨You’ll find every draft, scheduled email, and past send here.
Text
If your team uses SMS, this is where you create and manage text messages.
Pages
If your team uses Pages, this is where you create internal landing pages for announcements, resources, or updates employees can revisit anytime.
Journeys
Automate multi-step communications like onboarding sequences, birthday and anniversary reminders, or recurring updates.
Manage ⤵️
Where you control templates, integrations, and account settings.
Step 1: Create your first email
Once you’ve had a quick look around, you’re ready to create your first email.
Head to the Email tab and click Create email in the top-right corner. From there, you can choose how you want to start:
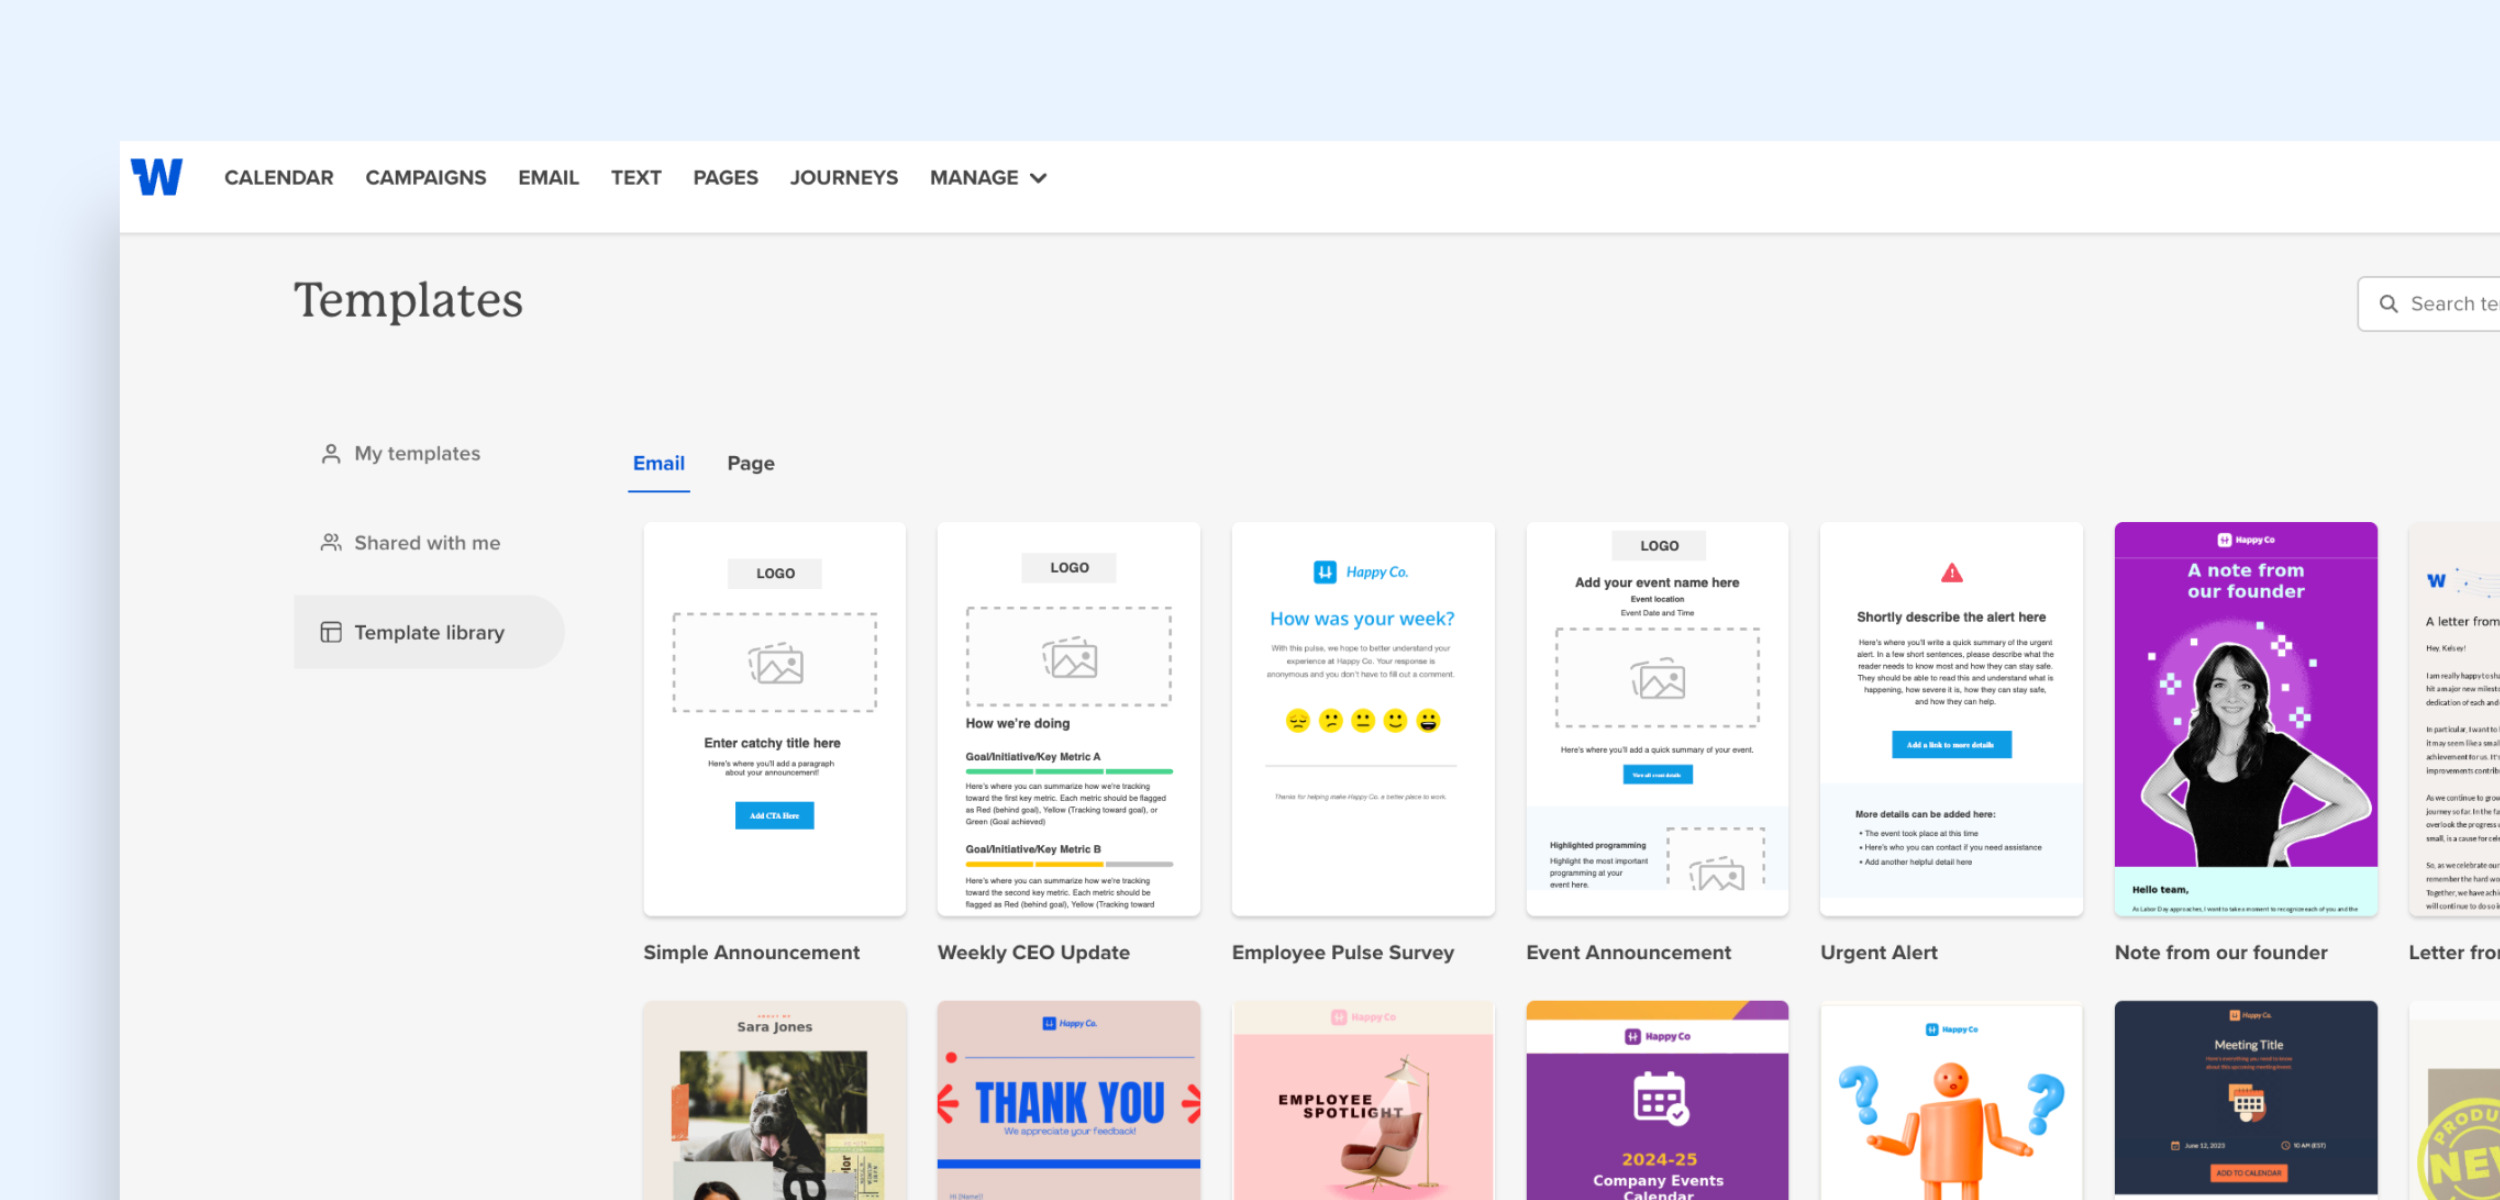
My templates
Templates you’ve created and saved.
Shared with me
Templates created by teammates.
Template library
A library of ready-to-use email designs.
Or start from scratch
A blank canvas if you want full control.
Pick the option that works best for you, and you’ll land in the email editor.
Step 2: Design your email
Workshop’s editor is drag-and-drop, which means building your email is as simple as stacking blocks. On the right side, you’ll see three sections: Settings, Rows, and Content.
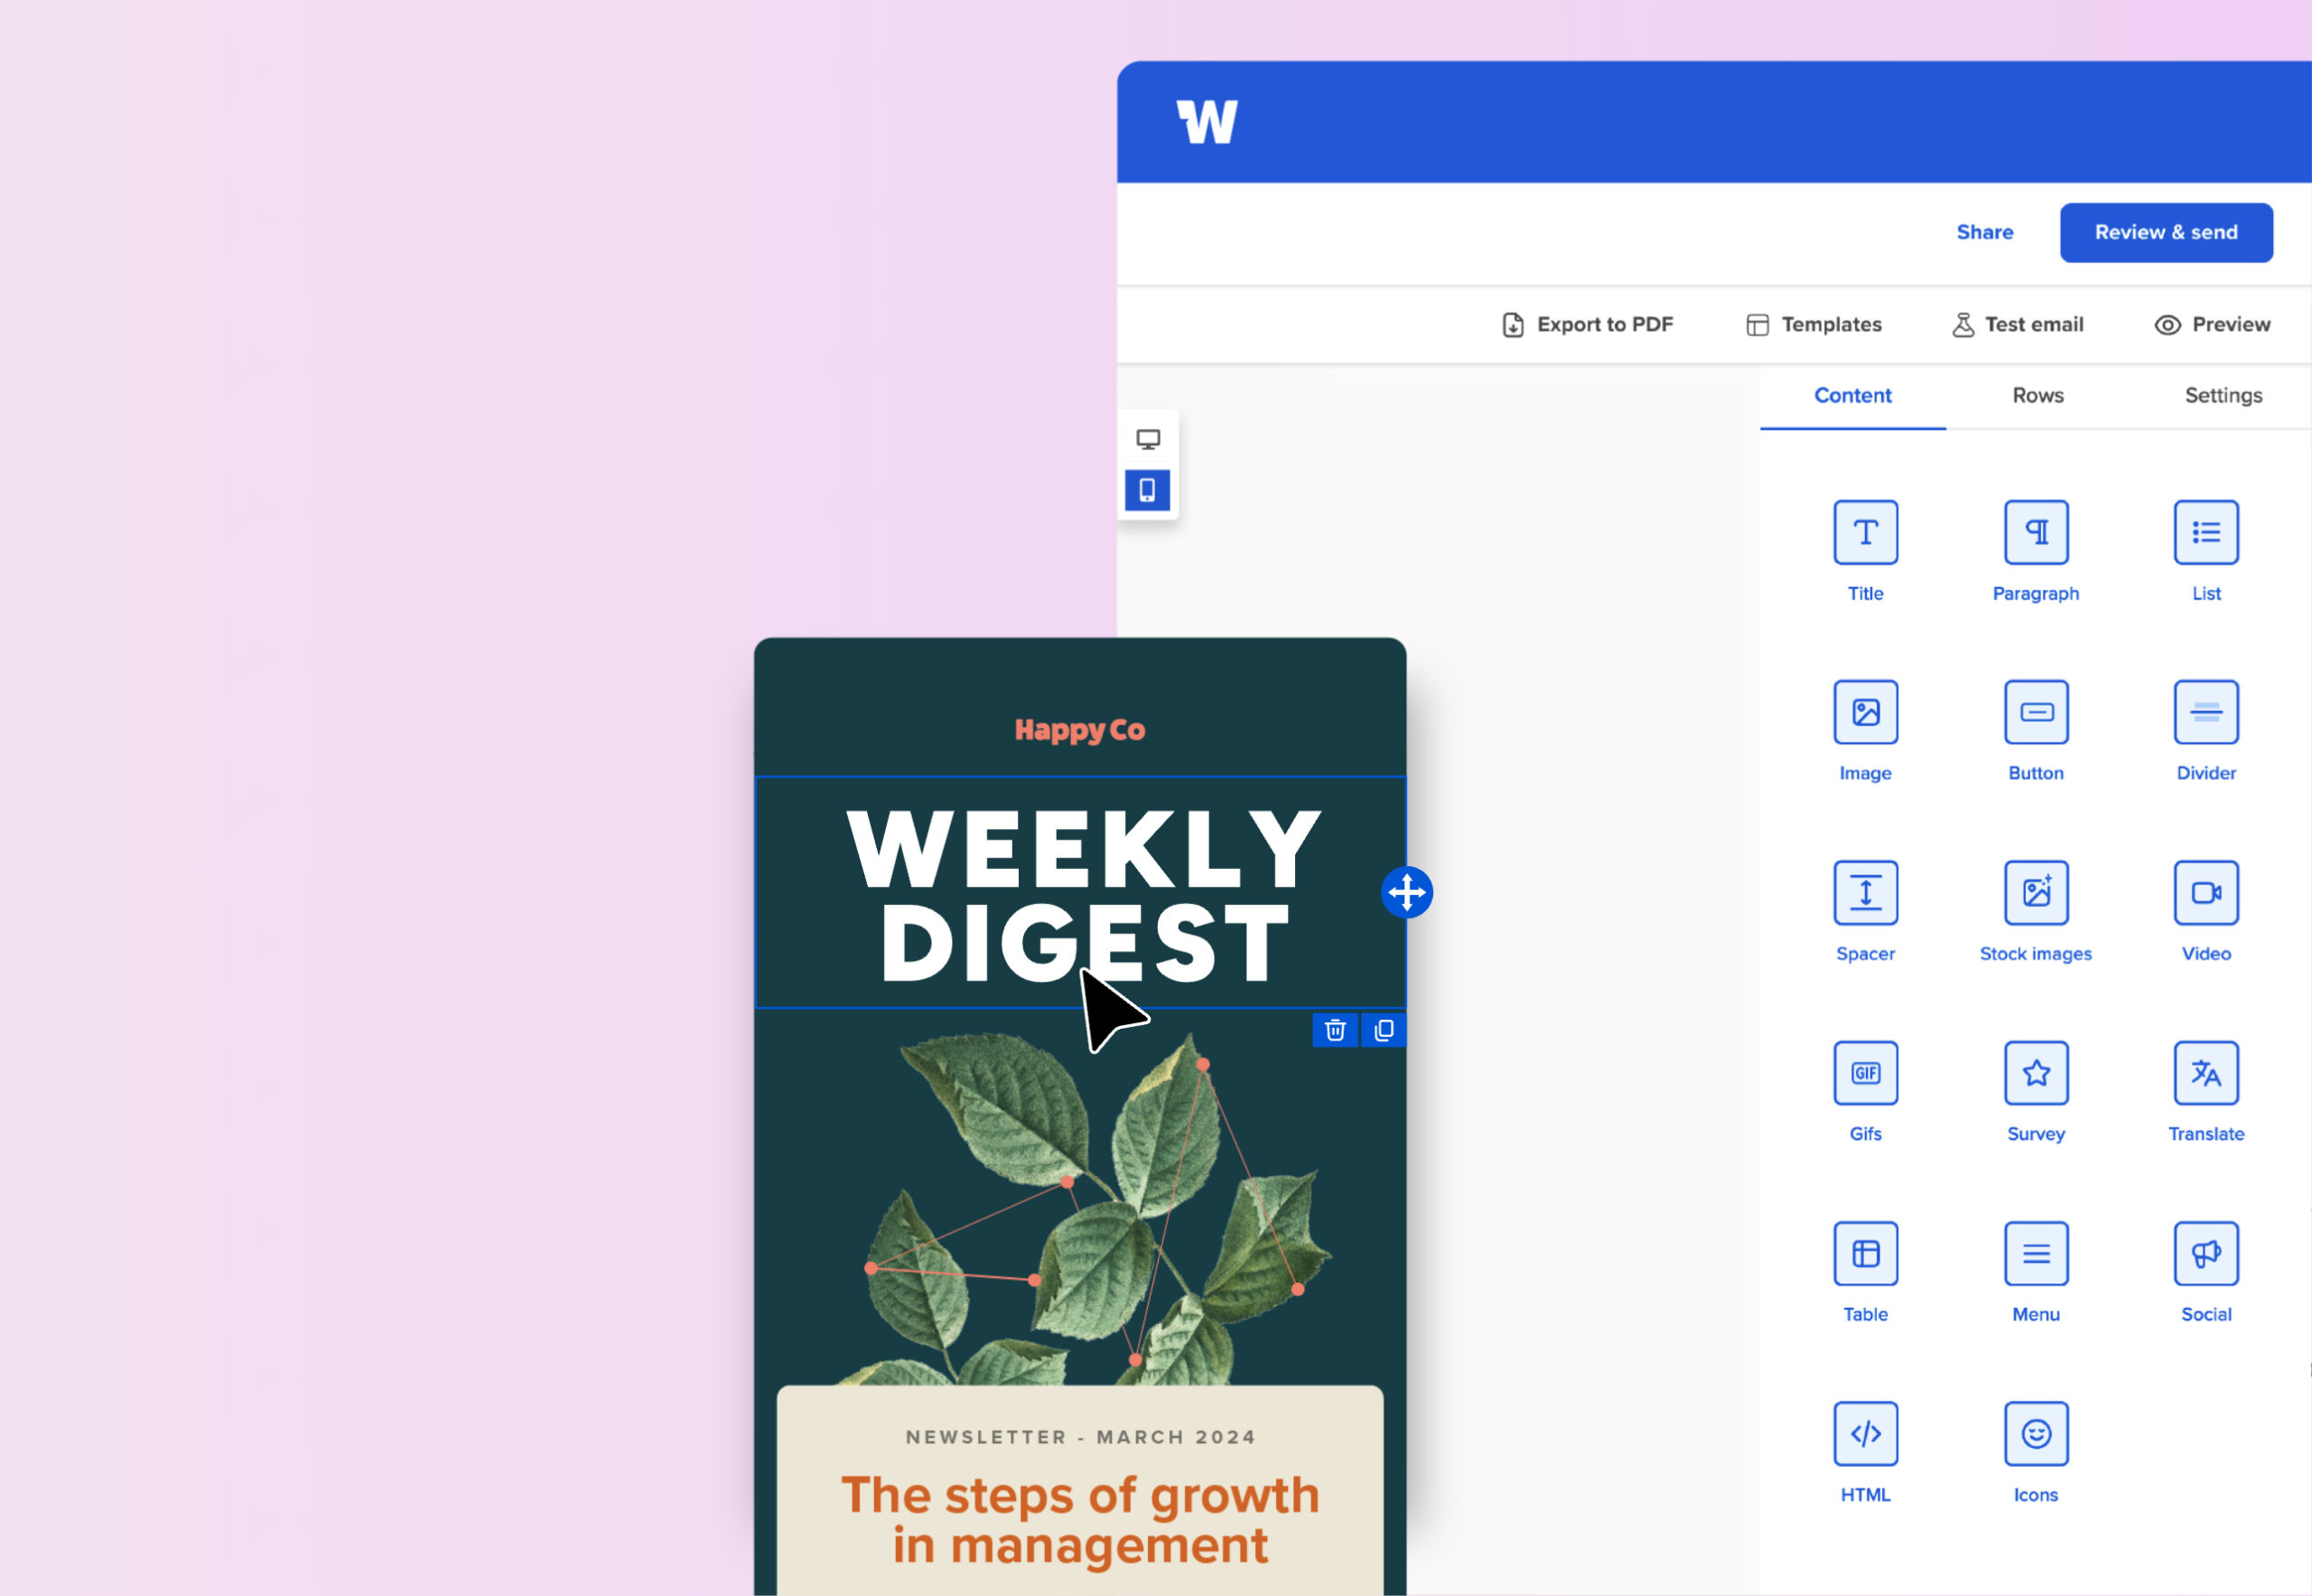
Settings
These control the look of your comms. Set these once, and they apply across the whole email!
You can adjust things like:
- Email width
- Background colors
- Default font
- Brand colors
- Link styling
Rows
Rows create the structure of your email layout. You can add rows with one to six columns, depending on the design you want.
Each row can be customized with:
- Background colors
- Images
- Borders
- Rounded corners
- Mobile stacking options
- Audience segmentation
Content
This is where your message comes to life. Each content block has its own styling controls, so you can adjust spacing, alignment, and design as you go!
Drag in elements like:
- Titles
- Text blocks
- Images
- Buttons
- Dividers
- Videos
- GIFs
- Surveys
- Social icons
- Menus
Step 3: Preview your email
Before sending anything out, it’s always smart to take a quick look. Click Preview in the top-right corner of the editor.
You can toggle between:
- Desktop
- Mobile
- Dark mode
This helps make sure your message looks great no matter where employees open it.
Step 4: Send a test email
Next up: testing! It’s a simple way to catch small issues before the real send. Click Test email and send a preview to yourself or a teammate.
You can also:
- Send the email as a specific recipient to test personalization
- Add a quick note asking for feedback or approval
Step 5: Set your send settings
Once everything looks good, open the Settings tab in the editor.
Here you’ll configure things like:
- Email name (for internal reference)
- Subject line
- Preview text
- From name
- From email
- Reply-to email
- Campaign association
You can also generate an Inbox Preview to see how the email will appear in recipients’ inboxes.
Step 6: Choose your recipients
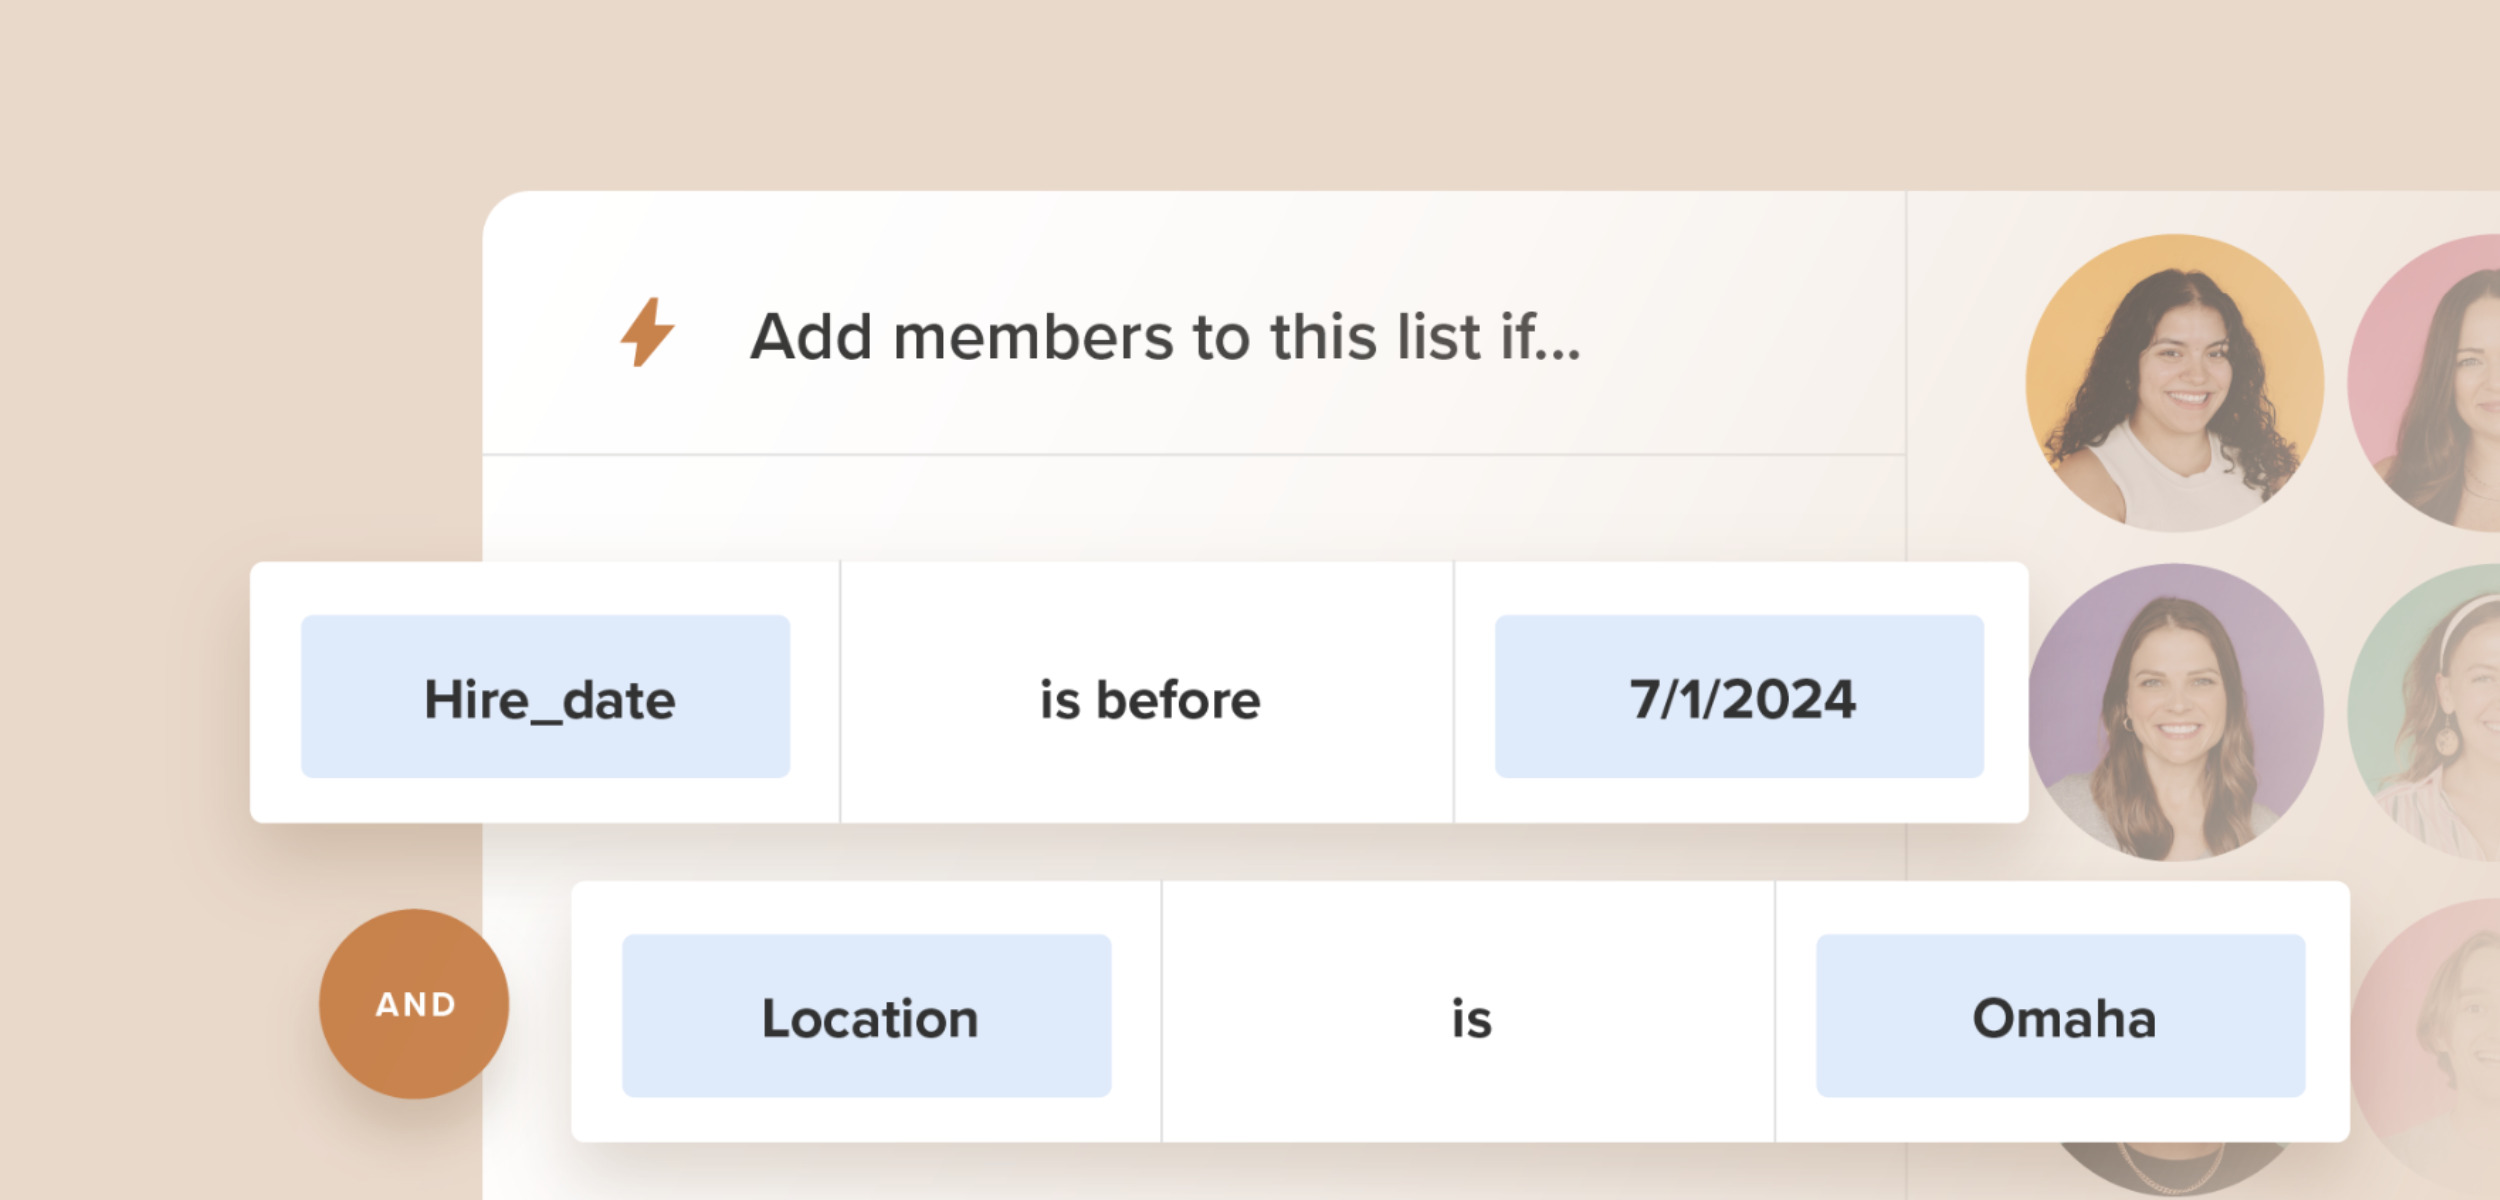
Now decide who should receive your message. Workshop syncs with systems like HRIS or Outlook, so your employee directory and lists are already available. Simply select the distribution lists or individuals you want to include.
Step 7: Cross-post to other channels (optional)
Want to extend the reach of your message? Each channel lets you customize the preview message so it fits the space.
You can also share the email’s web version across other channels like:
- SMS
- Slack
- Microsoft Teams
- SharePoint

Step 8: Send or schedule
Now for the fun part! Under Sending options, choose one:
Send now
Your email goes out immediately.
Schedule for later
Pick a date and time for delivery — perfect for planning ahead.
Step 9: Track your engagement
Once your email is sent, Workshop automatically tracks how it performs. Head back to the Email tab and open your sent email.

Inside the Analyze tab, you’ll see insights like:
- Opens
- Clicks
- Engagement trends
- Reading time
- Devices used
- Link performance
Pro tip: You can even filter results by department, team, or distribution list to see how different groups engaged with your email!
Want to go deeper?
If you’re running something ongoing — like a newsletter or internal campaign — check out the Campaigns tab. It lets you track performance across multiple emails and see how engagement evolves over time.
That’s it 🎉
In just a few steps, you’ve created, sent, and measured your first internal email with Workshop.
From company announcements to weekly updates, Workshop helps you communicate clearly, beautifully, and with the insights you need to keep improving.
Now go send something great! ✉️