

 Teams
Teams SharePoint
 Slack
Slack QR Codes
 PDF
PDF Active Directory
 Workday
 ADP
ADP Canva
CanvaYour 6-week open enrollment communication plan


Open enrollment comms usually get bumpy for one simple reason: the content shows up too late to send it well. Benefits finalizes the plan changes, Legal has notes on the language, and the “what’s changing” email ends up getting written the night before it goes out.
This open enrollment communication plan template fixes that by front-loading the dependencies. It’s a week-by-week open enrollment checklist for HR and comms teams, ordered by what has to happen before what — so you’re never waiting on a fact you could have chased three weeks earlier. The goal is a rollout that feels calm instead of a scramble. 🙂
A note on timing: adjust the dates to fit your enrollment window. Working with four weeks instead of two? Stretch the last two phases and you’re set — the shape holds either way. And if you want the deeper strategy behind each step, our guide to open enrollment communication best practices is the companion piece to this plan.
Prefer the whole thing as a download, with the plan, the templates, and the automation build together? Grab the free Open Enrollment Kit & Email Templates.
Week 1 (six weeks out): Lock the facts
You can’t write a word until these are confirmed. Chase them first.
- Get the confirmed plan changes in writing from Benefits: carrier changes, contribution changes, new plans, plans going away, and FSA/HSA limits for the new year
- Confirm the exact enrollment window: open date, close date, close time, and time zone
- Confirm whether enrollment is active (everyone makes a selection) or passive (elections roll over). This one fact sets the tone for every email you’ll send!
- Confirm the enrollment portal URL and whether SSO actually works from a personal device
- Get the effective date for new coverage
- Nail down who’s answering questions (a person, an inbox, or both) and make sure they know they’re on deck
- Ask Benefits for last year’s top five questions. That’s your FAQ!
Week 2: Map your audiences
One message rarely fits everyone. This is where you decide who needs a different version.
- Pull your enrollment-eligible list and check it against your HRIS. Watch for new hires who became eligible mid-year, employees on leave, and anyone whose email in the system is a shared or shift-based address
- Decide your segments. Most teams land on three to five. The ones that really earn their keep:
- First-time enrollees — anyone hired since last open enrollment
- Deskless or frontline — no desk, no laptop, reading on a phone between shifts
- Employees with dependents — the folks for whom this decision is genuinely high-stakes
- Location or region — worth splitting out if benefits differ by state or country
- Managers — not a benefits segment, a distribution one. More on this below!
- Confirm your non-email channels: intranet, Teams, Slack, digital signage, SMS, break-room print. Note which ones you own and which need someone else to hit publish
- Flag anyone who needs a translated version, and confirm which languages
💡 Segments only pay off if sending to them is easy. This is where personalization and audience segmentation does the heavy lifting — one email, swapped by group, instead of five you keep in sync.
Week 3: Build the hub, then the emails
Order matters here. The hub comes first because it makes every email shorter.
- Build or update the benefits hub page before you write the emails — every email gets shorter when you’ve got one good link to point at
- Draft the full email sequence in one sitting. Sounds like more work, but it’s actually less! Writing it all in one pass keeps the language consistent and lets you trim the early sends, because you already know what’s covered later
- Schedule your education sessions and get those calendar holds out
- Send the manager enablement email early enough that managers hear about changes before their teams do
Need the copy for that full sequence? Our 12 open enrollment email templates are written and ready to edit — drafting the whole thing becomes a find-and-replace.
Week 4: Review and build the automation
- Route the sequence for review in one batch, with a firm deadline. One round, everyone at once — batching the reviews is the single easiest way to keep your comms on schedule
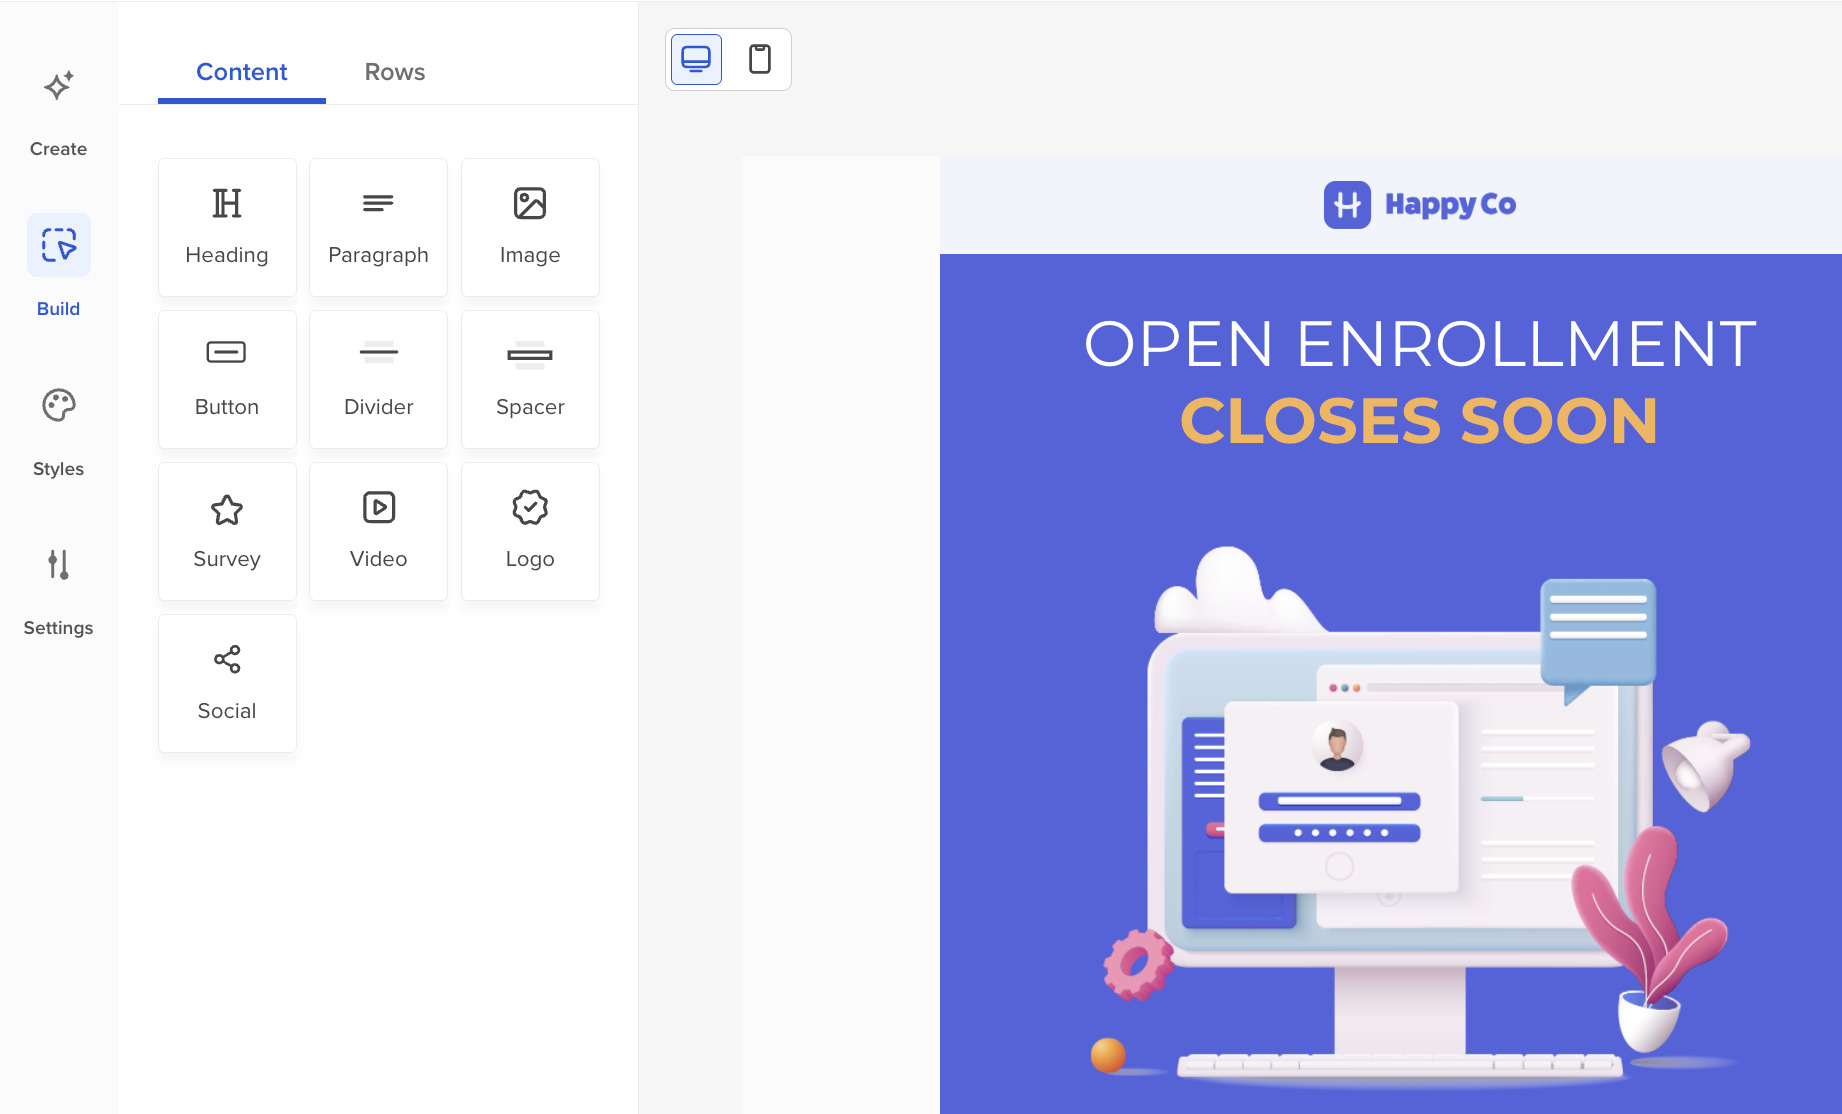
- Build the journey: Triggers, delays, branches, all of it
- Send yourself a test of every email in the sequence, and read them on a phone
- Click every link. Then hand it to someone who isn’t you and have them click every link 🙂
- Confirm the portal is actually live and the SSO path works from outside the office
Building the sequence once (so it runs on its own and you reuse it next year) is worth its own walkthrough. Here’s how to set up open enrollment email automation start to finish:
Weeks 5–6: Announce
- Save-the-date email goes out
- “What’s changing” email goes out
- Cross-post the announcement to your intranet, Teams/Slack, and signage
- Managers get their talking points and the forwardable summary
Enrollment window: Run the plays
- Day 1 launch email, plus your segment variants
- Midpoint reminder
- Unopener nudge — this one runs itself if you built the branch!
- 48-hour last chance
- Final day
- Check completion numbers daily against your list, and reach out personally to anyone still outstanding in the last 48 hours
Week after close: Reflect
The part everyone skips, and the part that makes next year easy.
- Post-close confirmation email with next steps
- Log your results: opens, clicks, completion rate, and which sends drove the most enrollments (here’s what’s worth measuring)
- Jot down what you’d change while it’s all still fresh. Future you will be so grateful! 💙
- Duplicate the automation, rename it for next year, and leave the sequence intact — that’s next October mostly done already!
What your open enrollment communication plan should include
If you’re building this plan from scratch (or adapting an existing internal communications plan template), five things make it complete:
- The confirmed facts — plan changes in writing, and the exact window including close time and time zone.
- Active or passive — this single decision changes the tone of every email.
- Your audience segments — who gets a different version, and why.
- A named owner for questions — a person or inbox, decided before launch, not during it.
- The send sequence and channel plan — what goes out, when, and where beyond email.
Get those five down and the week-by-week checklist above turns them into a schedule.
Frequently asked questions
What should an open enrollment communication plan include? Five things: confirmed plan changes in writing, the exact enrollment window (including close time and time zone), whether enrollment is active or passive, your audience segments, and a named person or inbox that answers questions. Then the send sequence and channel plan built around them. The six-week checklist above covers the whole thing, ordered by dependency rather than by preference.
When should you start planning open enrollment communications? Four to six weeks before your window opens is a good target, but your timing really depends on your logistics: confirmed plan changes, legal review, audience lists, and a hub page that has to exist before the emails can point to it. When those dependencies are slow, start earlier.
What’s the difference between active and passive open enrollment communication? With active enrollment, everyone must make a selection or lose coverage, so your emails carry a real consequence and your reminders should name it plainly. With passive enrollment, elections roll over, so the honest message is “you may not need to do anything,” followed by the exceptions that catch people: cost changes, FSA and HSA contributions that don’t roll over, and outdated beneficiaries. Confirm which one you have before you write a single email.
Is this checklist only for large HR teams? Not at all. It’s built to work for a team of one just as well as a full department — the dependency order is what protects you when you’re doing everything yourself. Automating the send sequence (and your own prep next year) is how small teams punch above their weight.
Make this the year open enrollment runs itself
A good open enrollment communication plan isn’t about sending more — it’s about getting the facts locked, the timing mapped, and a system you can reuse so you’re not rebuilding from scratch every fall.
Put it all together: use the 12 email templates for your copy, follow the automation guide to build the sequence once, and download the full Open Enrollment Kit to get the plan, templates, prompts, and send calendar in one place.
Workshop is internal communications software built for HR and comms teams who’d rather spend open enrollment thinking and strategizing than sending.